[section label=”Introduction”]
Feeling Safe
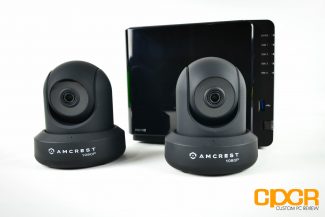 Over the past few years, video surveillance has become increasingly popular in homes and businesses, and the reason for this is simple. Years ago, installing a video surveillance system typically involved hardwiring every single camera to a DVR and only those who purchased expensive higher end DVRs could then watch the footage on their laptops or smartphones. As you can imagine, this is both costly and impractical especially for an average home or small business owner.
Recently, things are much different thanks to the explosion of the IoT market as new solutions have made video surveillance affordable and easy to setup. As such, today we’ll be showing you how to setup your own DIY video surveillance system. Before we begin, let’s take a look at some of the more popular video surveillance solutions out there.
[section label=”What’s Available”]
What’s Available
Cloud Based Video Surveillance
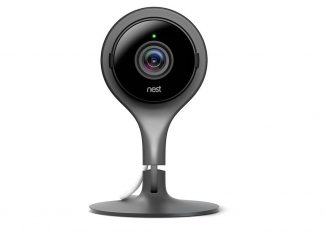 Cloud based video surveillance has become very popular these days thanks to their ease of use and minimal setup cost. Surveillance solutions such as the Nest Cam or Logitech Circle typically involve simply plugging a device in, setting up the Wi-Fi connection, and creating an account. Then it’s simply a matter of downloading an app or viewing the live video stream from a web browser.
While it’s simple and requires almost zero infrastructure to get started, these solutions have some drawbacks. For example, cloud based video surveillance providers typically charge some sort of monthly fee for viewing video that’s more than a couple hours to a day old. The fees are generally somewhere in the sub-$10/month range, which isn’t that bad, but it’s usually charged per camera so those who require multiple cameras to cover a home or business will find that the fees will add up very quickly. Additionally, the fact that video shot from the privacy of your own home being sent to servers out of your control is a bit worrisome especially with data breaches becoming a frighteningly common occurrence.
Local Video Surveillance
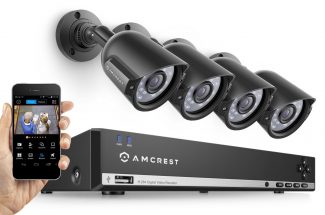 Those who find that the drawbacks to cloud based video surveillance too much of an issue can still fall back on local video surveillance which has also made some incredible progress over the past few years.
The most common form of local video surveillance is the video surveillance kits that can be picked up in many stores. They generally include cameras and a DVR, but they usually still require hardwiring each camera individually and it’s difficult to upgrade the system without purchasing an entirely new set.
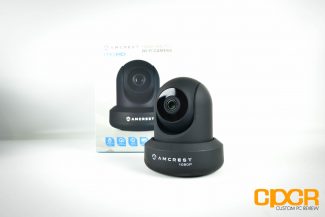 As such, IP cameras such as those from Amcrest or Foscam have become a major hit over the years. These cameras are typically fairly low cost and offer multiple methods of accessing the camera, detection, alerting and storing video. They’re generally easy to setup, there’s no additional monthly cost, and it doesn’t require you to send out video streams from inside your home onto the internet. Sounds great, but there are some drawbacks. For example, if the camera gets stolen, so does the video footage sitting in a SD/microSD card on the device. Additionally, if you have more than a single camera, each one has to be accessed individually which isn’t ideal. Luckily these drawbacks can be mitigated.
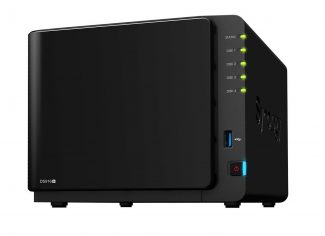 The easiest way to mitigate these issues is to utilize a PC, NVR (Network Video Recorder), or NAS (Network Attached Storage). While the PC option is going to be the most versatile, it does require a PC to be on 24/7 and it will eat up CPU cycles while the application is running, so while it may be a good solution for a business which owns servers, it’s not ideal for most homes. This leaves NVR or NAS solutions as the best option for homes and small businesses. As its name implies, the NVR is a more specialized device designed specifically for video monitoring, but NAS solutions which started out as network file sharing devices evolved into full blown servers in terms of functionality over the years capable of not only sharing files, but also running web servers, databases, video surveillance and more.
[section label=”What We Chose”]
What We Chose
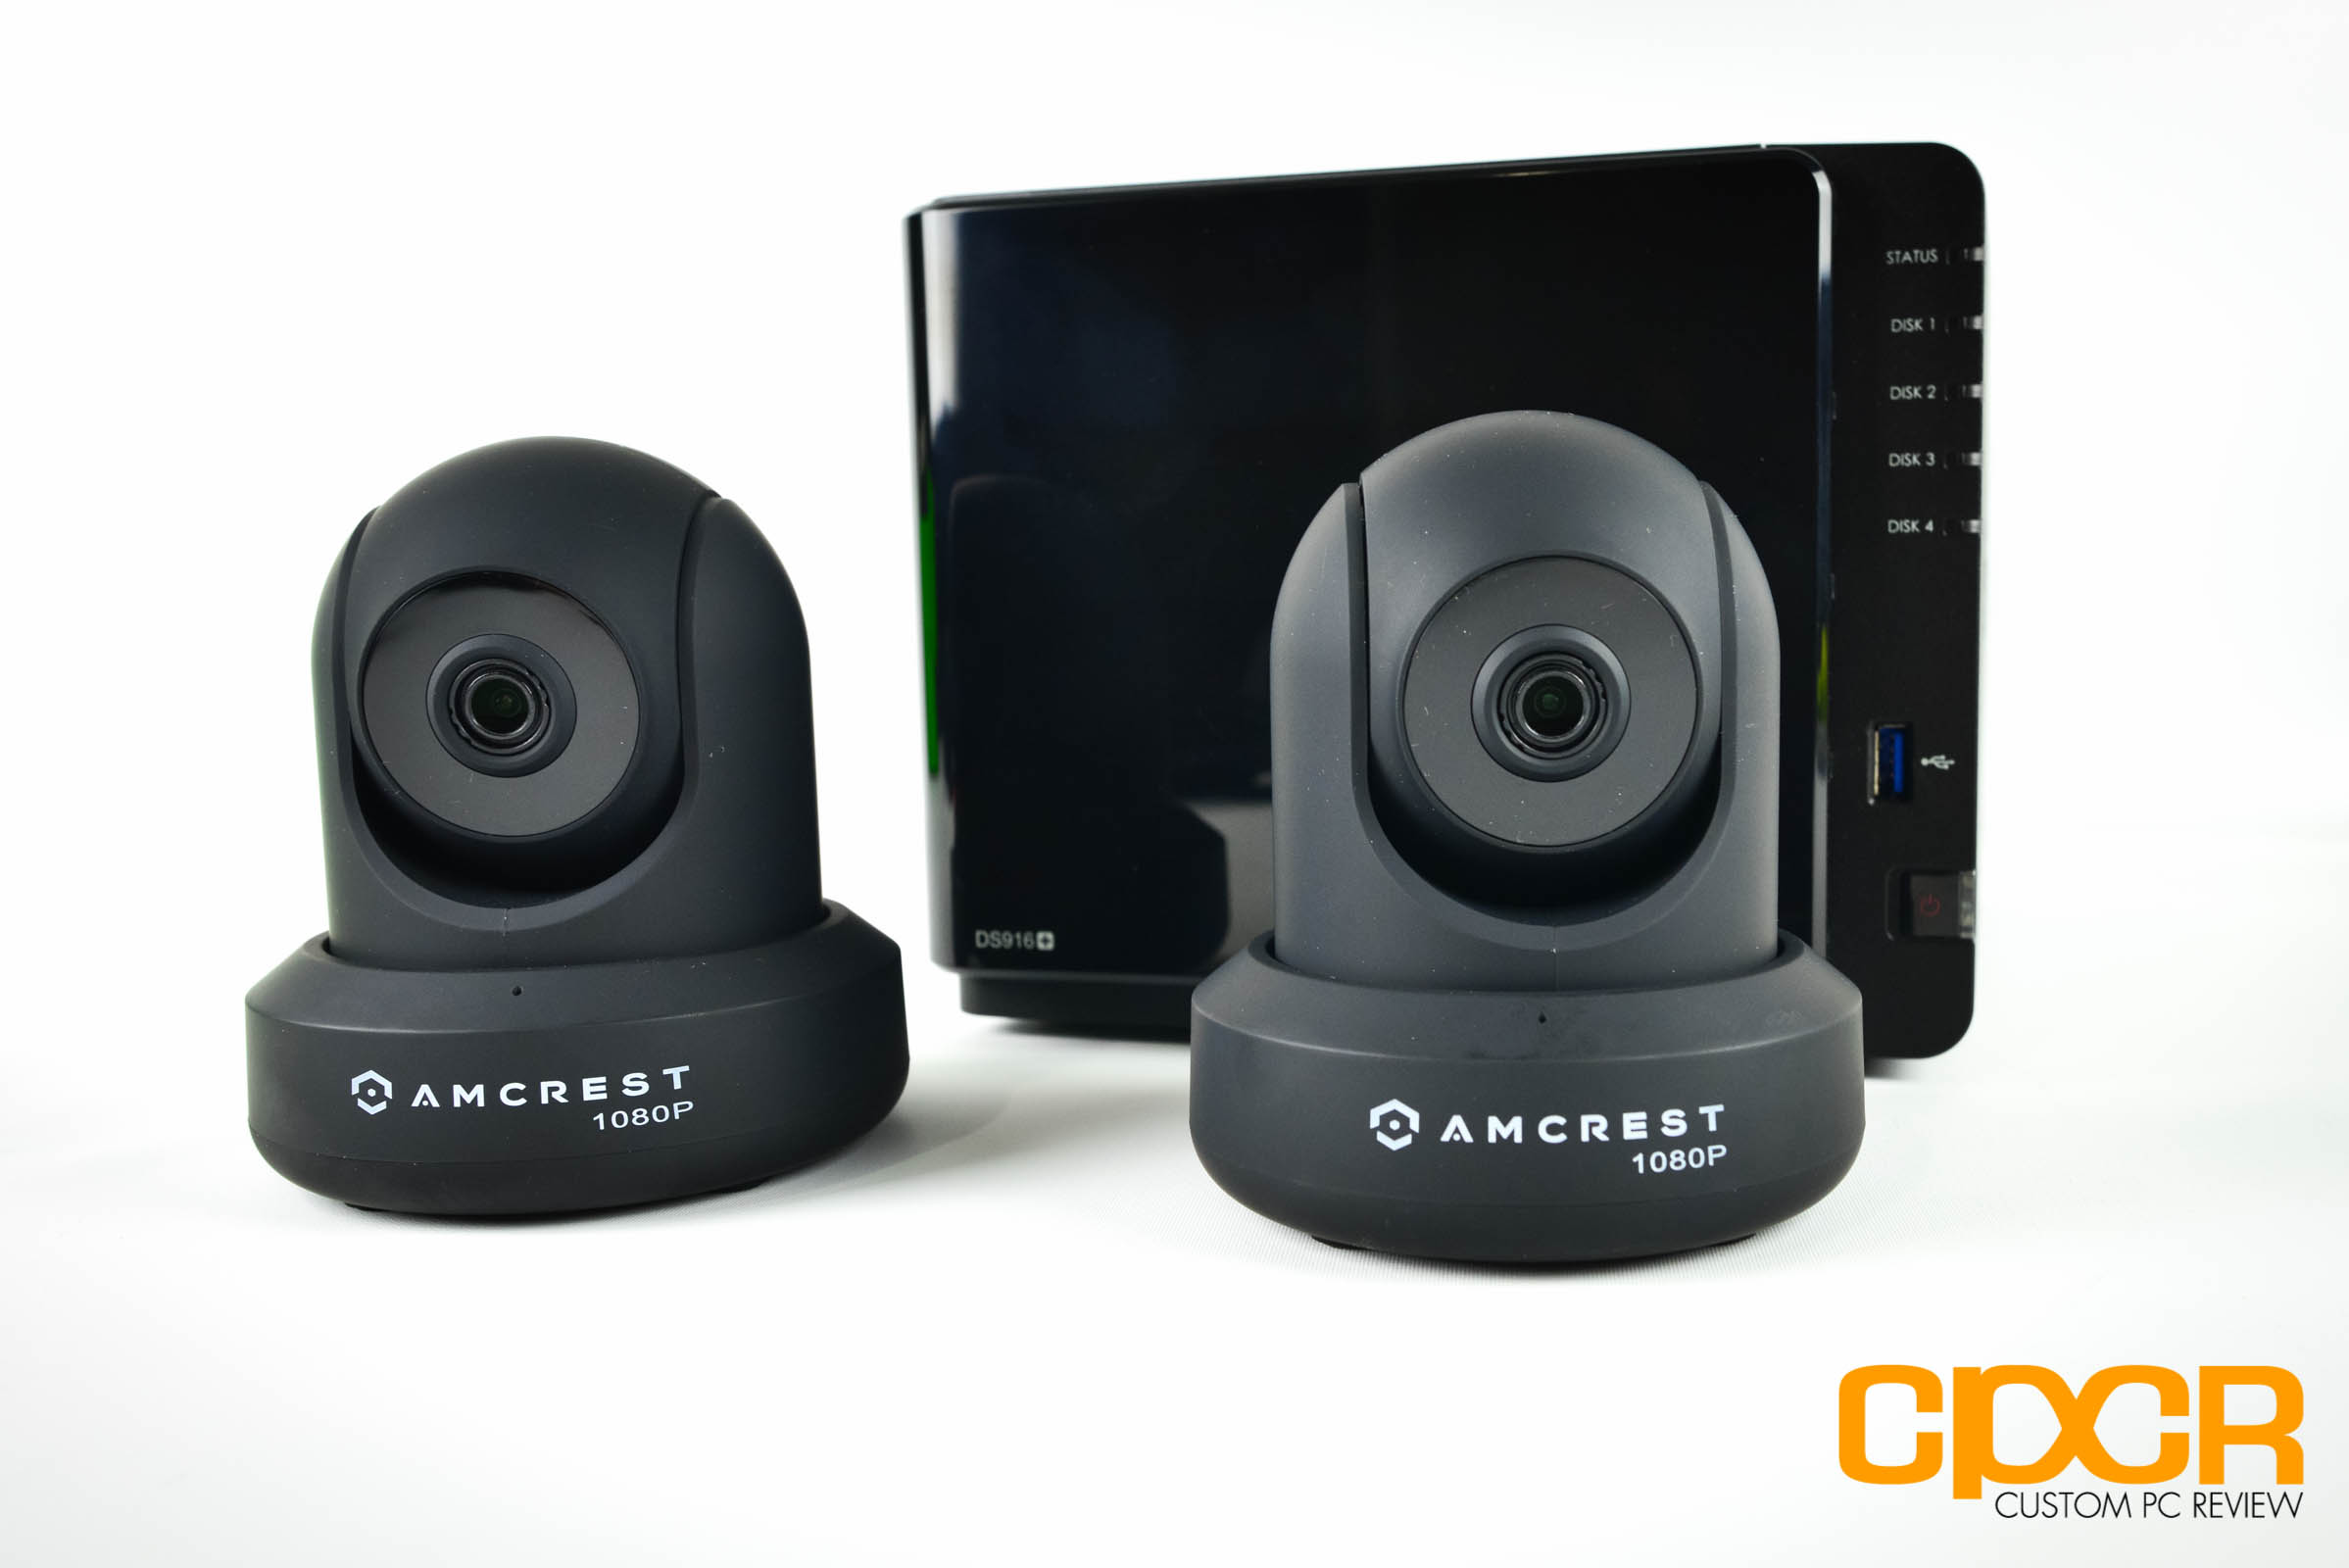
Weighing the pros and cons of all these solutions, we opted for the IP Camera + NAS solution, which would offer the most scalable, versatile and reliable system. Not only would this provide a fantastic video surveillance system, but a NAS would also allow us to easily share files across the network.
The Cameras
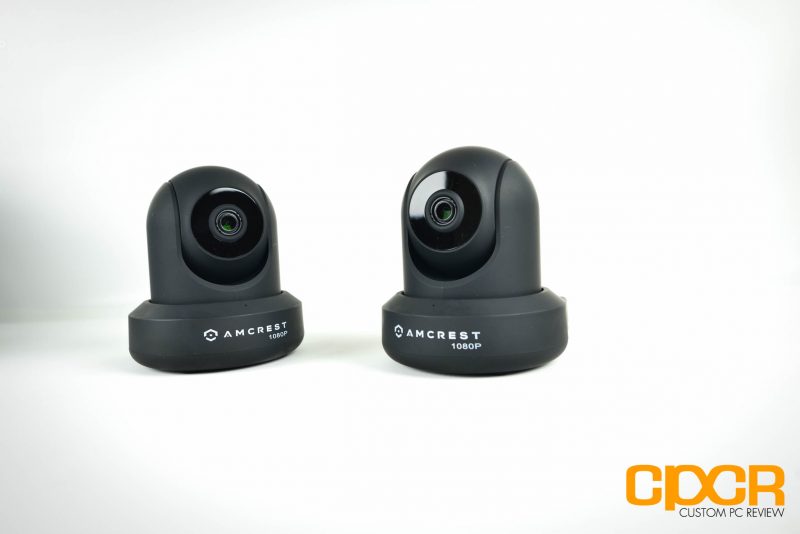
For our initial setup, we decided to go with the Amcrest ProHD 1080p Wi-Fi IP2M-841B. Despite the relatively low pricetag, these are excellent 1080p cameras packing the Sony IMX322 Sensor and Ambarella S2LM chipset providing some of the best video quality on the market. It also supports either Wi-Fi or Ethernet and more importantly, it also supports the ONVIF (Open Network Video Interface Forum) specification which means it’ll work with any video surveillance application that also meets this specification.
The NAS
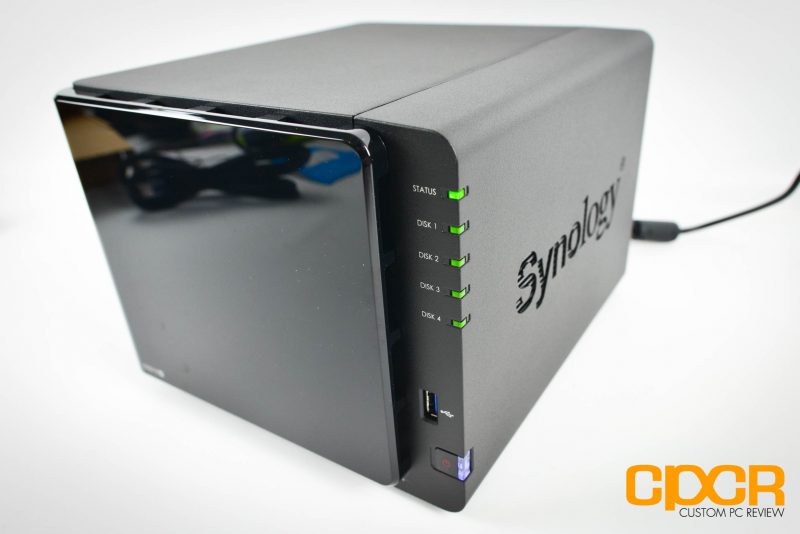
Pairing with the cameras, we decided to opt for the Synology DiskStation DS916+ which we recently reviewed. Packing four drivebays and a powerful Intel Pentium N3710 processor, it not only has plenty of horsepower, but also plenty of storage capacity as well for 24/7/365 video recording while still retaining additional functionality such as serving documents, video, music, and more.
Furthermore, we also chose the Synology DiskStation DS916+ specifically for its pre-loded Synology DSM and Surveillance Station capabilities. DSM in combination with Surveillance Station will ensure that the system will be easy to setup and use.
The Hard Drives
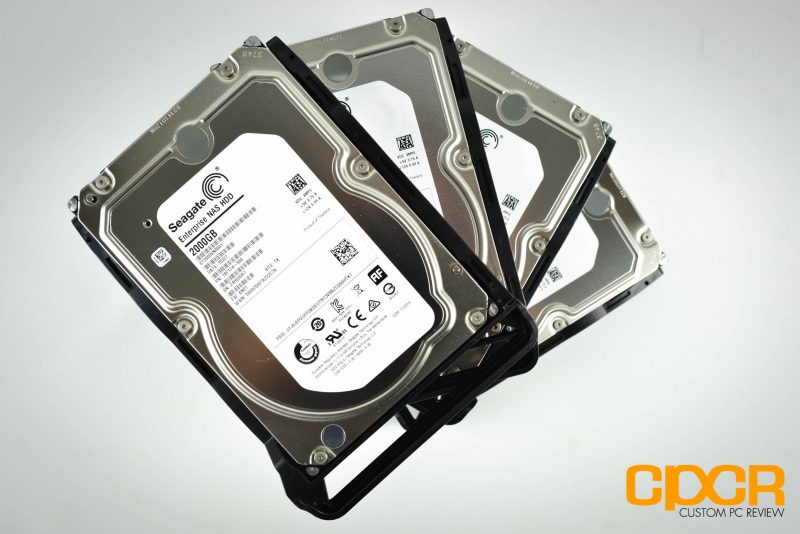
Inside our NAS is 4x 2TB Seagate Enterprise HDDs which were selected for their top notch reliability and performance characteristics. As our NAS needs to pull double duty as a file and media server on top of its surveillance duties, an enterprise drive was selected as the ideal option.
However, those with fewer camera deployments will also find that the Western Digital Red Series NAS HDDs and the Seagate IronWolf Series NAS HDDs would also serve this purpose at a lower pricepoint. For systems that will exclusively be used for surveillance, the Western Digital Purple and Seagate SkyHawk drives are designed specifically for 24/7 surveillance system use however, as they’re optimized specifically for surveillance systems, using them for other purposes such as a file or database server may yield poor results.
The UPS (Uninterruptible Power Supply)
As a simple power outage could easily knock out every single camera and the NAS unit, we chose the APC Back-UPS Pro 1500 to deliver emergency power to the NAS and networking equipment in the event of a power failure. Read our full review of the APC Back-UPS Pro 1500 here.
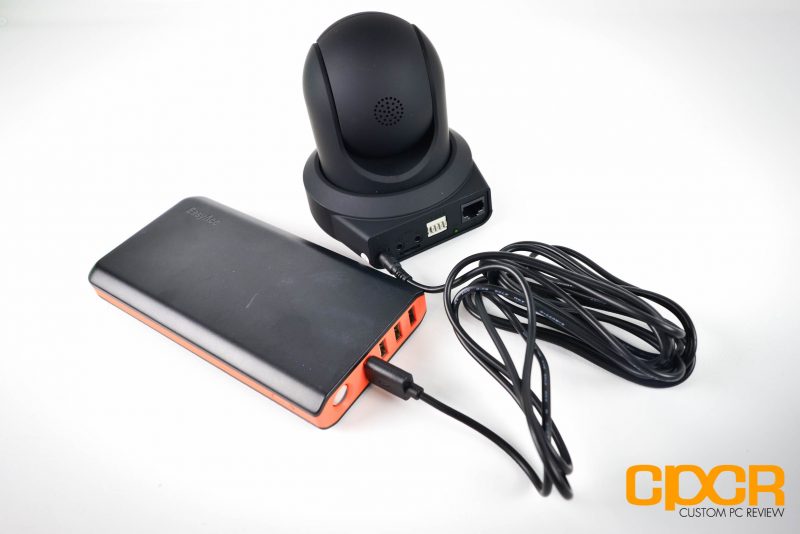
As the cameras are powered by a 5 volt, 2 amp USB power connection, battery backup for the cameras can be done using a simple USB battery bank. For our purposes, we picked up several EasyACC Monster 20,000 mAh battery banks which will offer several hours of use in the event of power failure. Of course, alternate battery packs can be used as well as long as it supports a 2 amp or greater output as well as pass-through power capability.
Those who have the technical ability to hardwire their cameras can also pick up PoE version of the Amcrest ProHD 1080p Wi-Fi IP2M-841B, which is the Amcrest ProHD 1080p IP2M-841EB. This will allow power to be delivered via an Ethernet cable provided that your networking equipment supports it.
[section label=”Installation and Set-Up”]
Installation and Set-Up
The Cameras
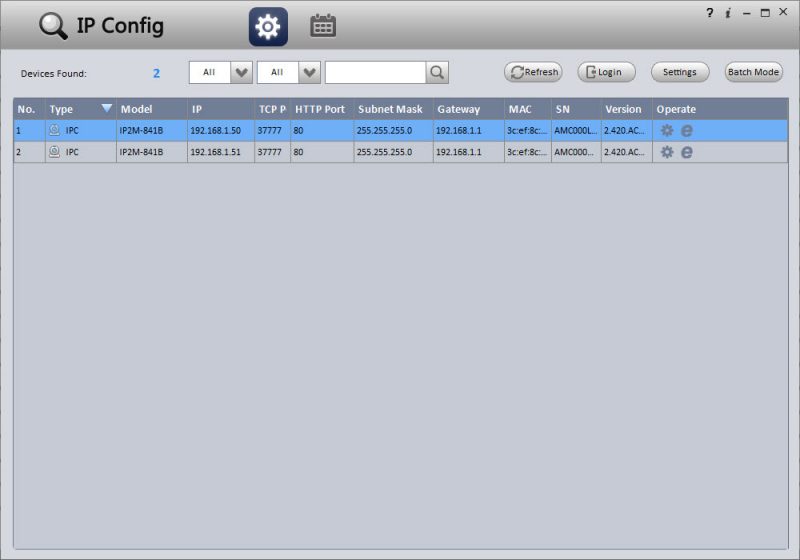
Setting up the Amcrest IP2M-841B cameras is a fairly simple process. Initially, the camera has to be setup using a wired configuration directly into the network, but this is no longer necessary once Wi-Fi is enabled. In order to set them up, simply plug the cameras in and use Amcrest’s IP Config utility which will pull up any Amcrest camera on the network.
Here we have 2 cameras on the IP addresses 192.168.1.50 and 192.168.1.51. Each camera needs to be setup individually, so point a web browser to the camera’s IP to begin setup.
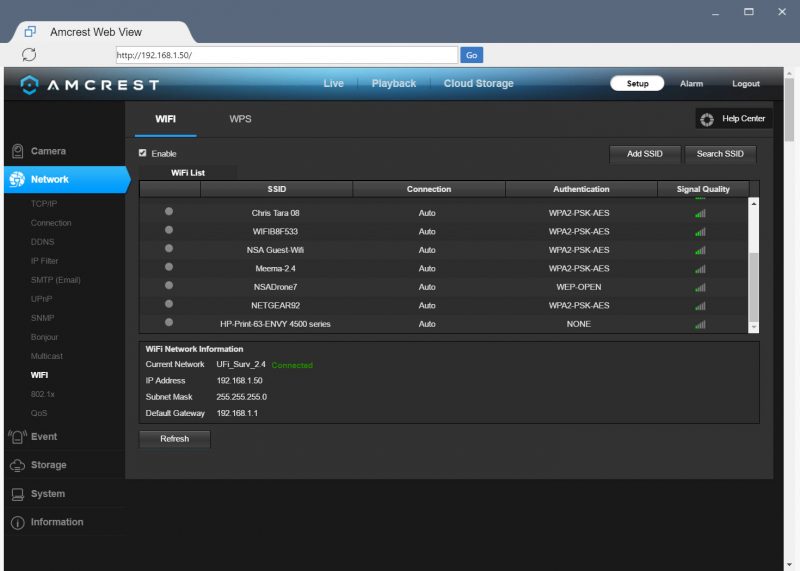
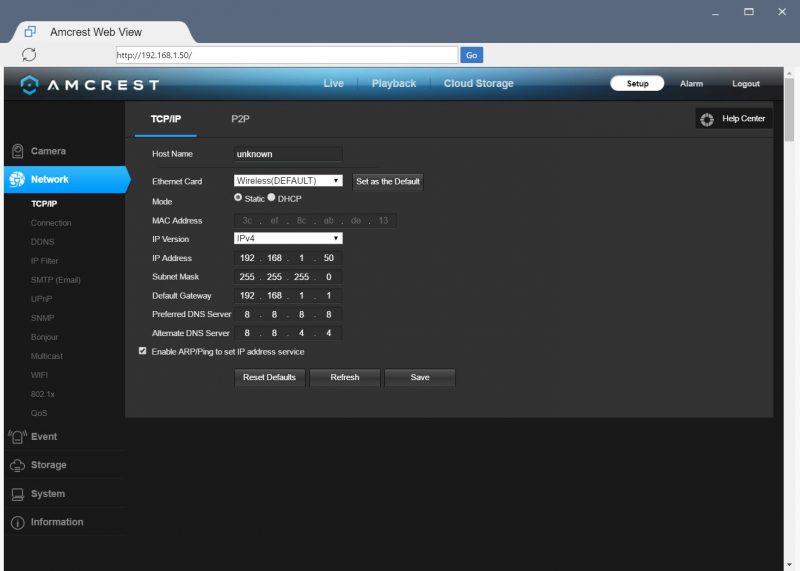
Aside from changing the password, the only thing that needs to be changed in the camera settings is Wi-Fi which needs to be enabled (unless you have your camera wired) and the IP address needs to be set to a static IP so the camera will always use the same IP. Setting up a static IP can be done in both the camera or the router, but we’ll focus on doing it in the camera in this guide.
For our camera, we set the IP to 192.168.1.50.
The NAS
After the cameras are setup, the next step is to setup the NAS. Since we’re working with a Synology NAS, setting this up will be easy and straightforward.
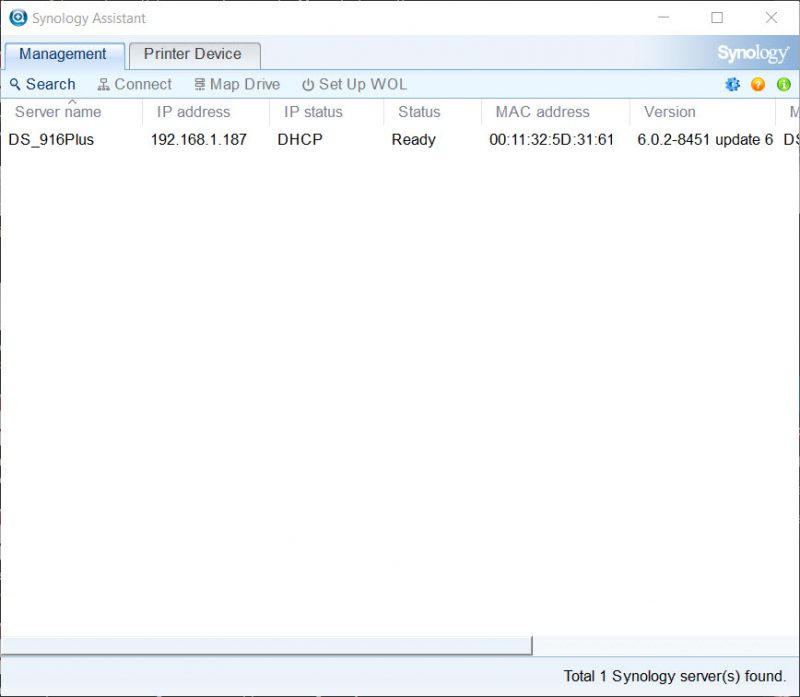
Once the NAS is plugged in, simply locate the NAS using the Synology Assistant utility and point a web browser to its IP address.
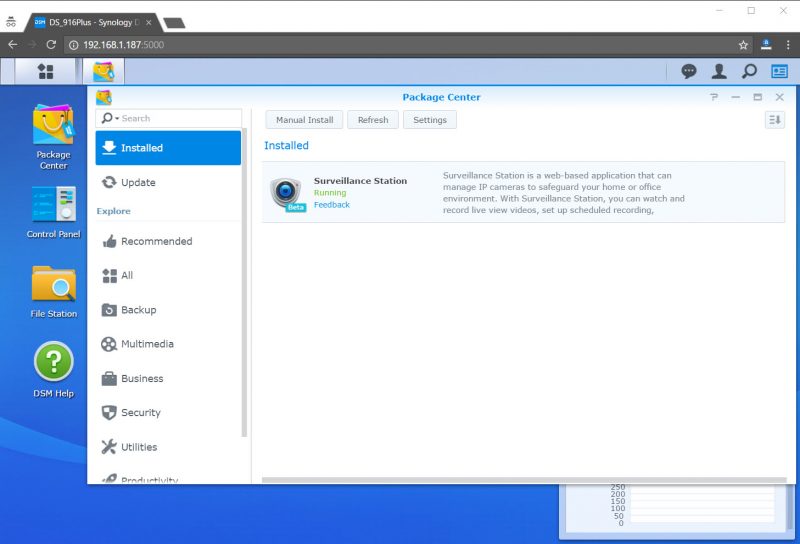
The first step is to install the Surveillance Station package. This can easily be done through the Package Assistant.
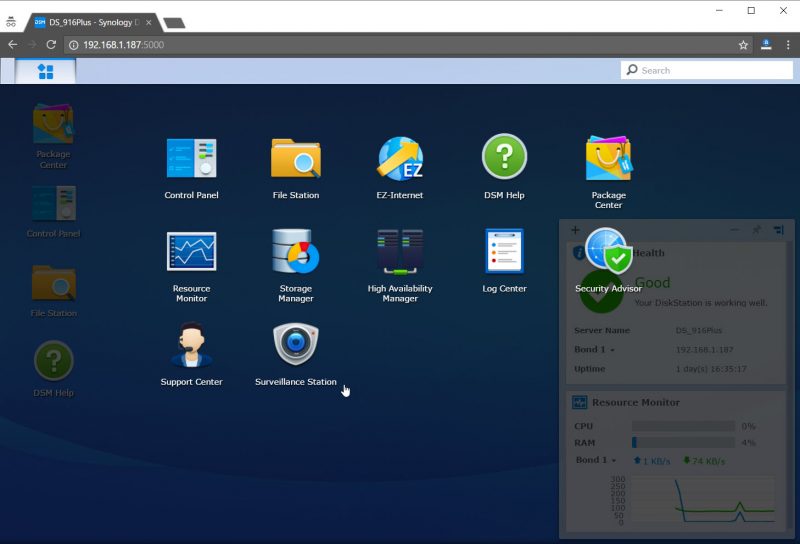
Once that’s installed, simply open up Surveillance Station through the main menu to start Synology’s Surveillance System application.
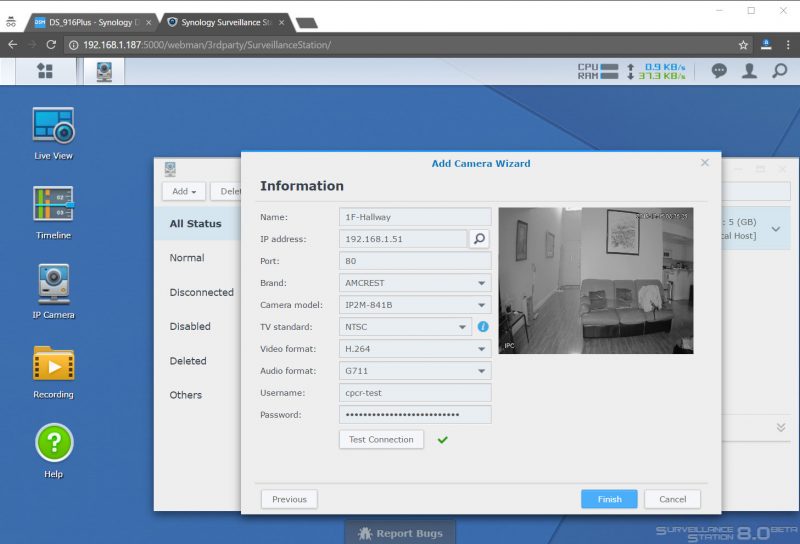
Once Surveillance Station is installed, setting up the cameras can be done through the IP Camera menu. This process can be repeated for as many cameras as you own. If you own more than 2 cameras however, Synology Camera License Packs need to be purchased to allow additional cameras to be setup. Unfortunately, this does feel a bit like Synology trying to nickel and dime customers, but luckily these licenses are a one time purchase and can be transferred in the event you upgrade to a new Synology NAS unit.
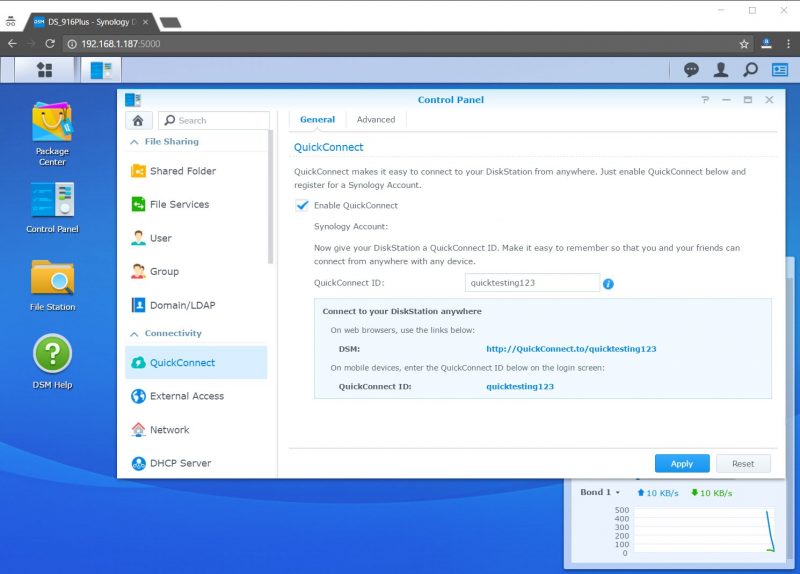
For remote access outside of our private network, we’ll also need to setup a Synology QuickConnect ID, which can be done through the Synology DiskStation Control Panel.
[section label=”Performance”]
Performance
PC
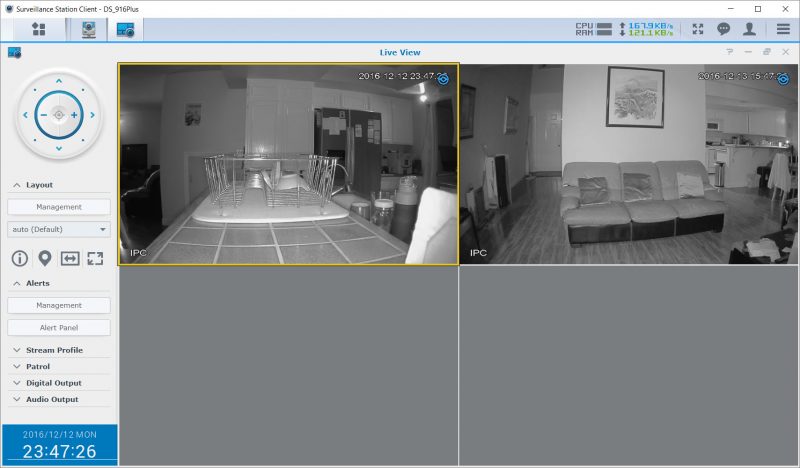
With a PC, the Synology Surveillance Station can either be accessed with the web browser or for those running Synology Surveillance Station 8.0, it can also be accessed via a desktop app. For my use, I preferred the desktop app as it allowed easy access to Surveillance Station without having to type in the IP address of the NAS every single time.
Here we can see the two Amcrest IP2M-841B cameras protecting the house.
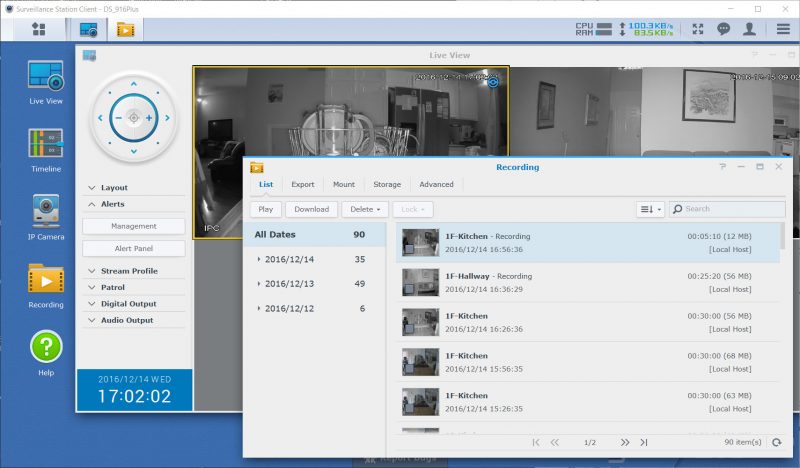
Video is recorded directly to the DiskStation DS916+ which can be additionally backed up to a connected hard drive or even replicated off-site for better data security. Video can also be recorded directly to the Amcrest IP2M-841B cameras via a microSD card as well which can be useful if you’re connected on an unstable Wi-Fi connection or in the event your networking equipment fails.
Android
Connecting to the Synology Surveillance Station outside your private network can be done in several ways, but by far the easiest is by using the Synology QuickConnect ID we set up previously. By using the QuickConnect ID, there’s no need to use an additional dynamic DNS setup.
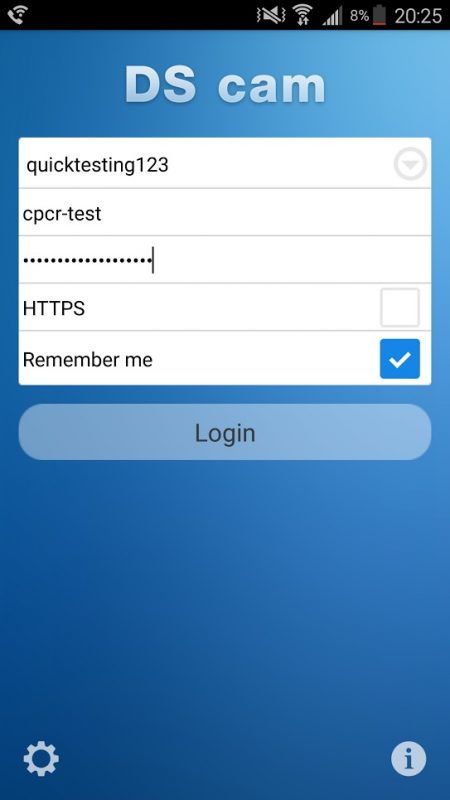
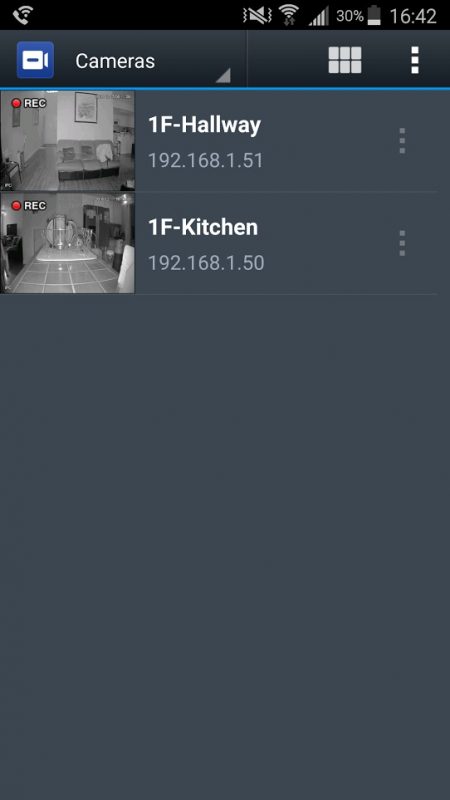
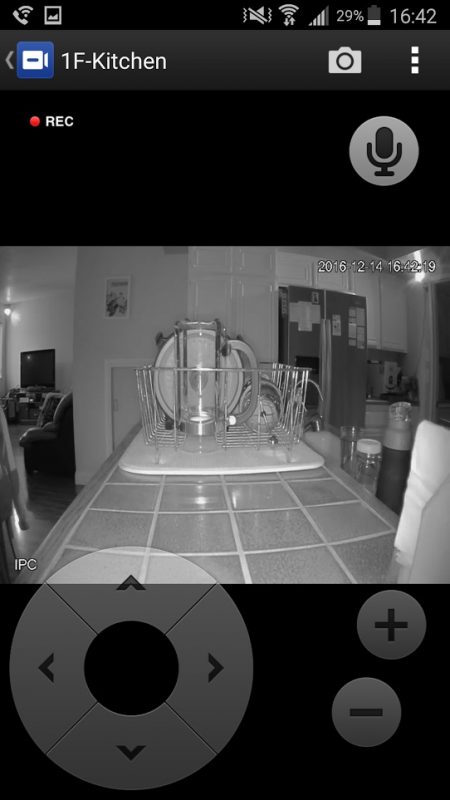
For those on the go, Synology offers their DS Cam app which allows you to quickly check on all your cameras on your Android device. Of course, Synology also offers DS Cam on iOS devices as well.
If the cameras have the capability, Pan/Tilt/Zoom can be done remotely and 2-way talk can also be done remotely.
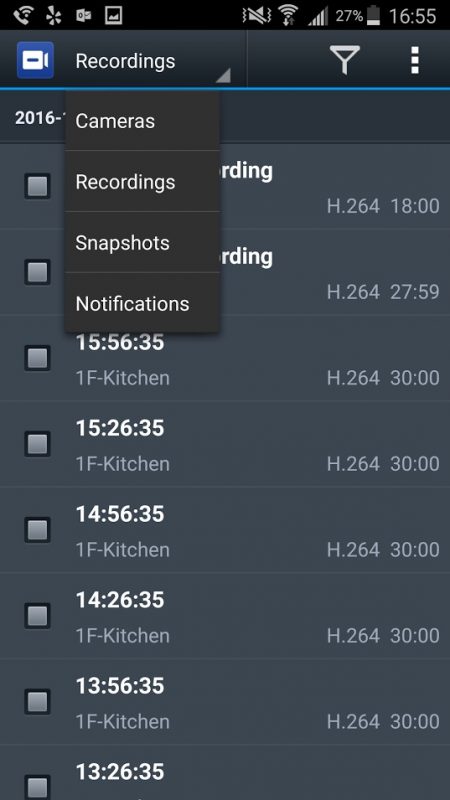
Of course, the app also allows playback of video, viewing of snapshots, and sends notifications/alerts as well. Push can also be enabled to alert you if for example motion is detected. Unfortunately, Surveillance Station does not feature smart detection capabilities such as detecting motion of humans versus pets.
[section label=”Conclusion”]
Conclusion
If you got this far, then your surveillance system is now setup. Rejoice!
For our setup, getting everything to work was simply a matter of around 20 minutes which really isn’t all that much more time compared to the cloud solutions on the market, yet a solution like this provides exactly the same functionality that a cloud video surveillance system would provide without giving cloud companies access to video footage from the privacy of your home.
In terms of cost, a system like this is significantly cheaper in the long term as well. Currently the Nest Cam retails for $199 and a subscription to just 10 days of video history costs an additional $100/yr while 30 days of video history would cost $300/yr. With just two cameras, the total cost for just 10 day video history access would be in the neighborhood of $600 for the first year and $200/yr after that. Bump that up to 30 day video history and the price shoots up to $1000 for the first year and $600/yr after that. In comparison, a couple Amcrest IP cameras and a Synology NAS can do more than 30 days of 24/7 recording at under $1,000.
Hopefully, this guide has helped you in some way put together your own home video monitoring solution. As always, if you have any questions, please feel free to drop them in the comments below or drop a question in our forums here.
Does anybody else own a home or business surveillance system? Did you use a similar approach or a different one? Let us know in the comments below!



Good article but what if the crook steals your NAS?
Well, that’s a tough one. Definitely make sure the NAS is somewhere difficult to find and if you’re paranoid, you could get a lockable network cabinet. If they manage to break into that, I’d say if you have a decent internet connection and a friend with a decent internet connection, you could have a second NAS offsite somewhere receiving a lower quality second stream from the IP Cams. You could also hope the thieves don’t steal the memory cards in your camera and go about it that way.
Thanks for the article. Just curious how the battery backup for the cameras work. Are you recommending using the portable batteries in a pass through mode? I’ve noticed that there doesn’t seem to be a lot of explicit support for this feature with portable batteries/battery banks.
Hey Mark, yes I’m recommending using USB battery banks as the battery backup for the cameras. The battery banks will need to have pass-through power capability (where the battery bank can provide power at the same time it’s charging). Most power banks from reputable manufacturers should have this feature, but I haven’t tested them all, so I can’t say for sure. The EasyACC 20,000 mAh unit I’m recommending above definitely does (since I currently use them).
If you want to cut down on wiring, there are USB power banks that have an AC adapter built in + a battery bank which would help slightly cut down on wires.
https://www.amazon.com/Plugable-Pass-Through-Charger-Android-Windows/dp/B00Y1ICY8S/ref=sr_1_sc_1?ie=UTF8&qid=1500142015&sr=8-1-spell&keywords=battery+bank+pass+through+plugabel