[section label=1. Introduction]
Designed by Earth Federation Forces
Most computer cases these days follow a fairly standard formula. They are often rectangular in shape with the interior housing the the power supply mount at the bottom, the motherboard tray in the center, and the tower of drive bays to the right side. Some cases deviates from this style a little, but they’re often subtle changes in appearance.
Since there’s little deviation from this tried and true layout, when Raidmax announced the Agusta a couple months back, I was really interested in seeing what they had to offer. Unlike many cases on the market, the Agusta has two unorthodox design features that make it quite the unique chassis. The first is that it’s a Gundam themed case. While fans of the popular anime series may not recognize the Agusta as a Gundam Wing per say, it does carry the mecha style theme which we all know and love. The second is that Raidmax has gone with a dual chambered design with this case, opting to create a dedicated chamber for the 2.5″/3.5″ drives and another for the rest of the system. In theory, this will allow cool air drawn in from the front of the case to stay cool as it no longer needs to move through hot harddrives before moving to the graphics cards or the CPU.
Has Raidmax made the Agusta a case worthy of the Earth Federation Forces? Read the full review to find out!
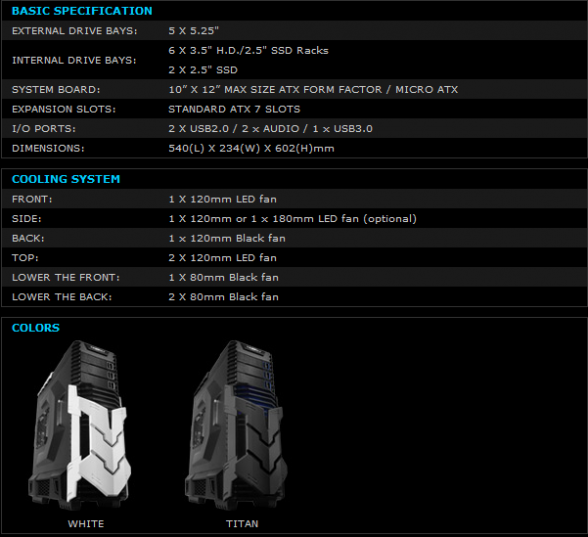
Specifications
[section label=2. Unboxing/A Closer Look]
Unboxing the Raidmax Agusta
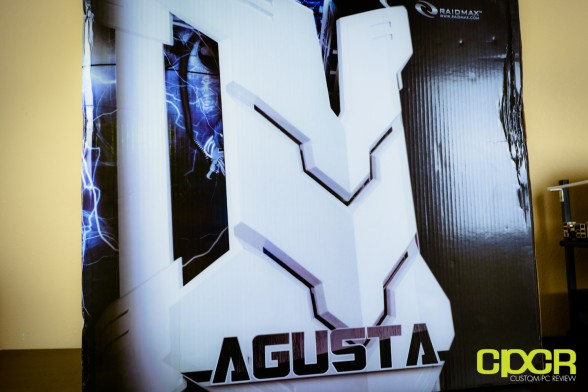
The Agusta arrived in a large, high quality box with thick padding. The front grille of the case is printed prominently on the front of the box.
Upon opening the box, we can see that the Agusta is packaged very securely with closed cell foam, extra cardboard and a cloth cover.
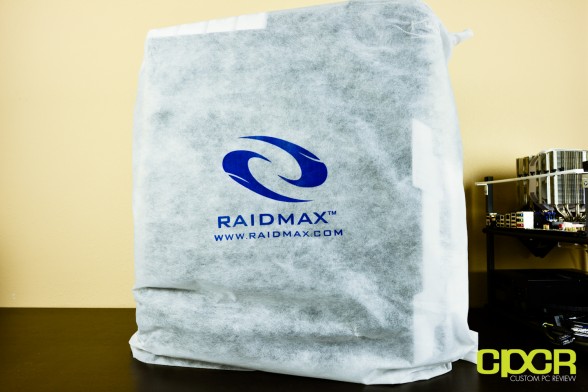
Once the foam padding is removed, we get the case wrapped in a cloth cover with a giant Raidmax logo stamped right across the middle. Awesome. This is definitely a welcome addition especially with most companies just going with a cheap plastic bag nowadays.
A Closer Look
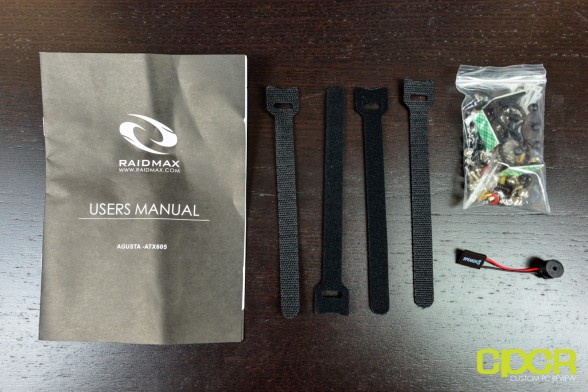
Included with the case is all the accessories you’ll need to get going. This includes some documentation, case screws, a case speaker, and cable ties. Notice that Raidmax has included both reusable velcro cable ties and single use plastic cable ties (included with mounting hardware). Additionally, all accessories come in a clear, resealable plastic bag (not shown) which is a nice touch.
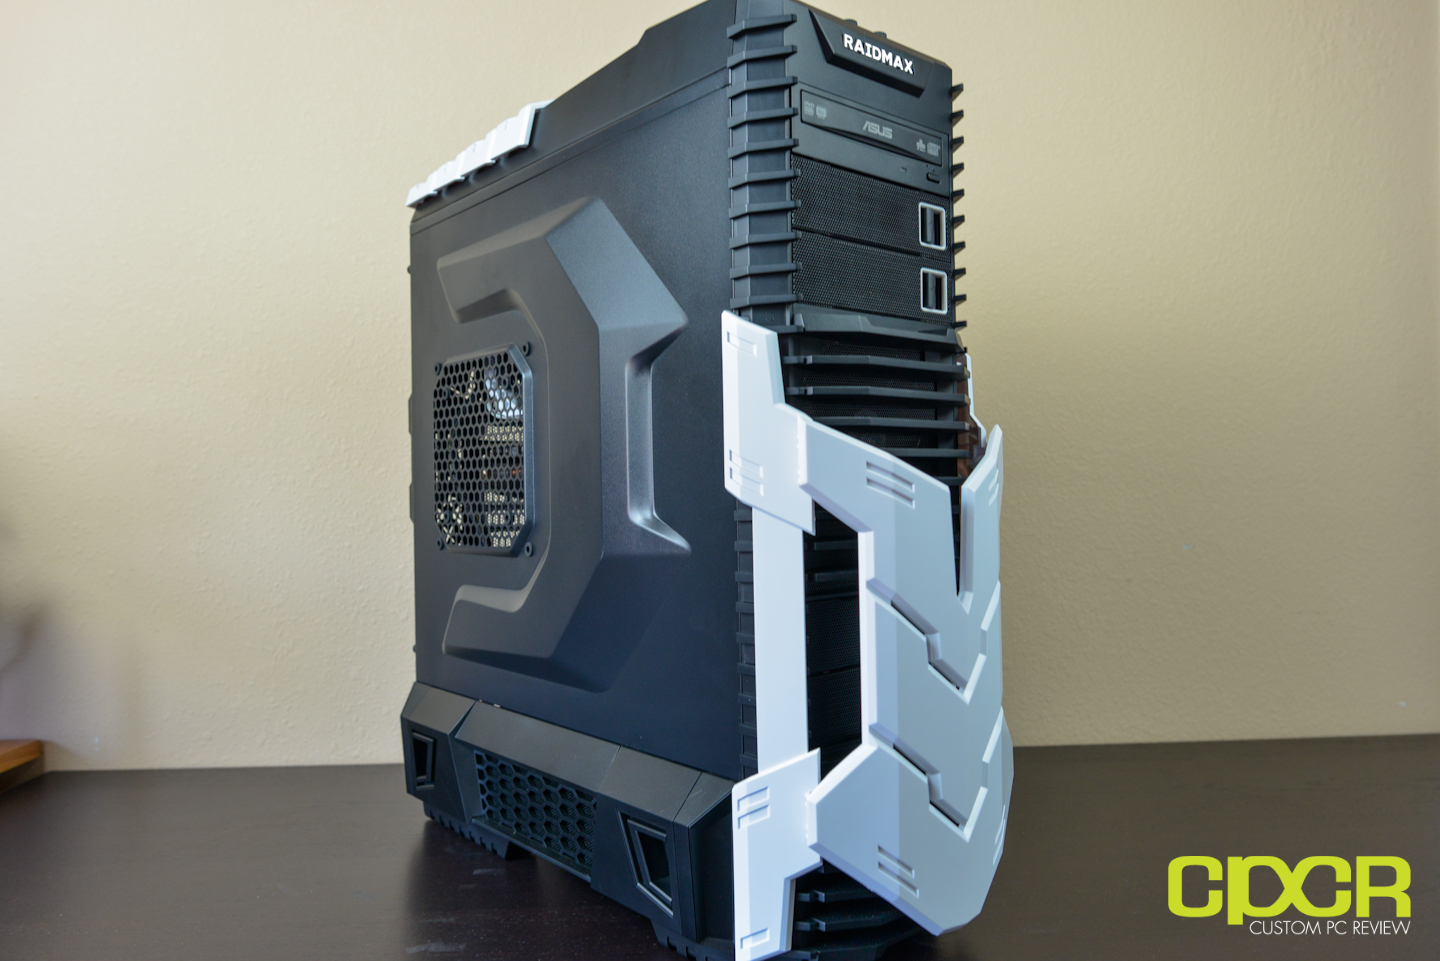
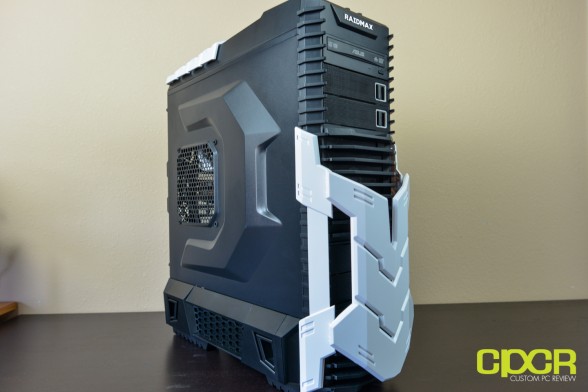
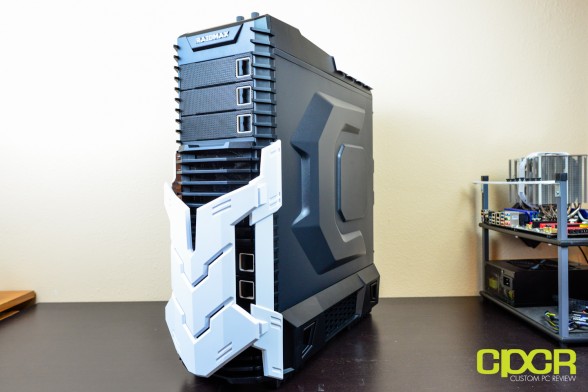
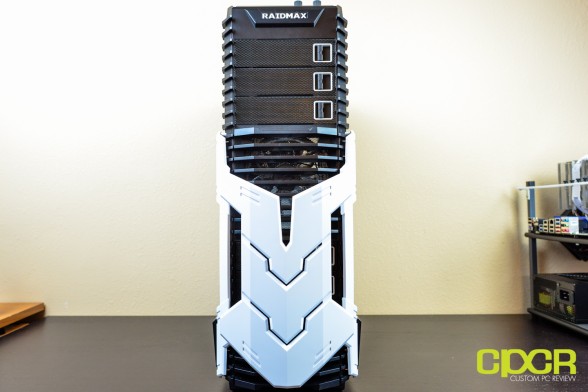
Moving onto the case itself, we can see that Raidmax has styled this case like a Mobile Suit Gundam. With the exception of the main portion of the chassis itself, most of the case’s styling is constructed of plastic.
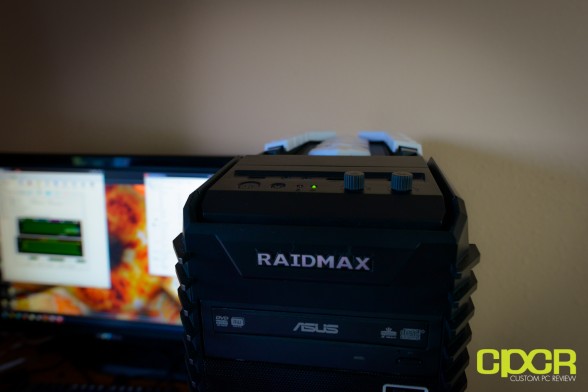
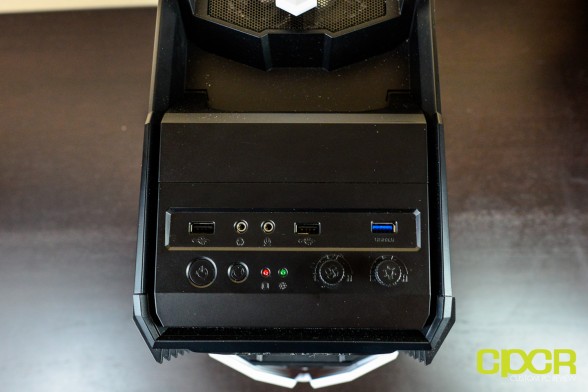
At the top of the case, we get two USB 2.0 ports, headset and microphone jacks, a single USB 3.0 port, power and reset buttons, hard drive activity and power LEDs, one fan control knob and one led control knob.
Slightly behind the top panel connectors is a small pocket where cables, cell phones, and other items may be placed. The top of the case is also additionally styled with mechy Gundam armor as well.
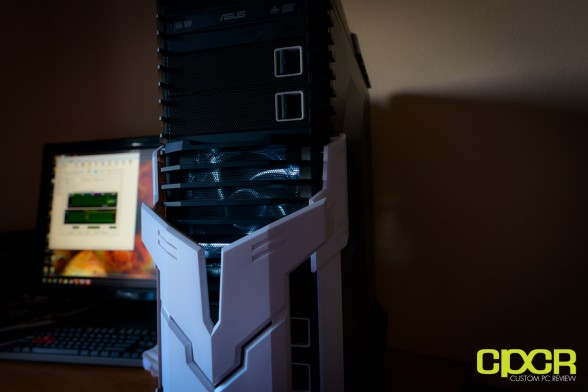
At the front of the case, there are three 5.25″ drive bays followed by a front intake (unfiltered) with a 120mm fan underneath. Beneath the intake is a front cover styled in the Gundam theme.
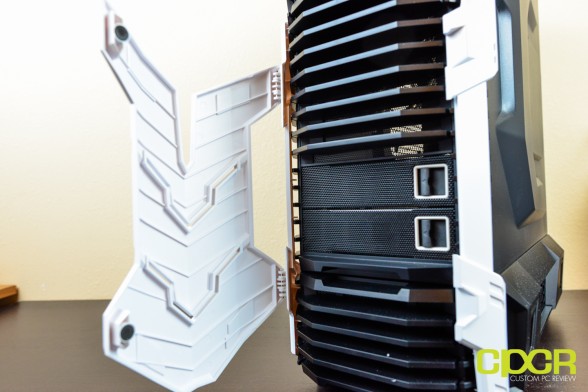
Upon opening up the front cover, we can see that it’s held together with two small magnets. There’s also two more 5.25″ drive bays hidden here as well. Below the two 5.25″ drive bays is another grille with an 80mm intake fan (unfiltered) for the 2.5″/3.5″ drive compartment.
[section label=3. A Closer Look (Cont…)]
A Closer Look at the Raidmax Agusta (Cont…)
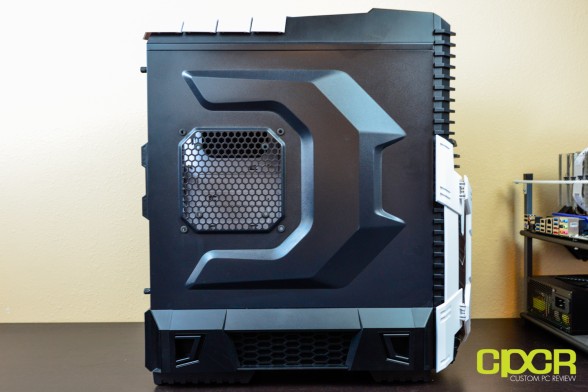
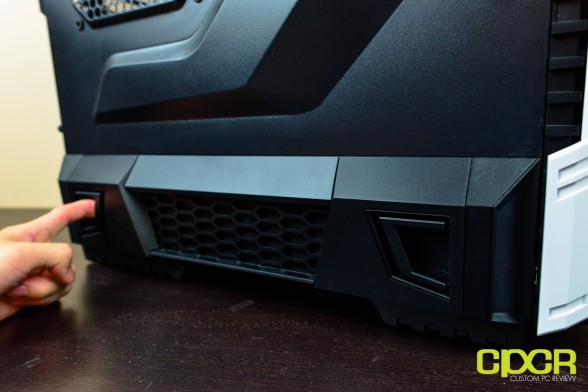
Here’s a look at the sidepanel of the Agusta. The sidepanel features a grille with mounting holes for either a 120mm or 140mm fan. Below the sidepanel is also a separate compartment dedicated for 2.5″/3.5″ drives. This is definitely a very unique design as most cases don’t feature a separate compartment for the hard drives.
The cover for the lower compartment may be opened by simultaneously pushing on two tabs on the cover.
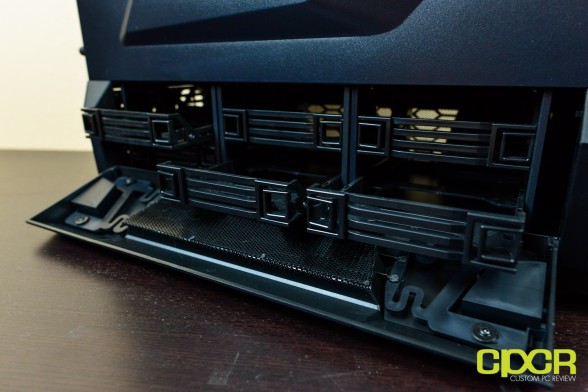
Once opened, we find that there’s a total of six 2.5″/3.5″ drive trays. There’s also three 80mm fans – one intake at the front and two exhausts at the back.
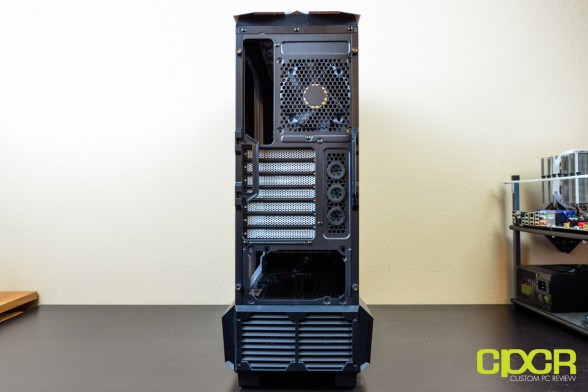
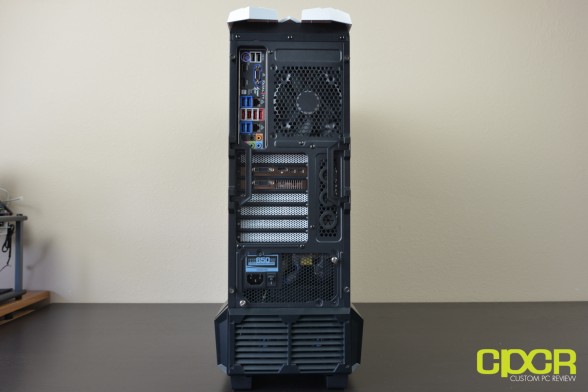
The rear of the case is for the most part fairly standard. Starting from the top we get an I/O shield punchout, a 120mm fan, seven expansion slots, three water cooling grommets and the power supply mount. Below that is a grille which holds two 80mm exhaust fans for the 2.5″/3.5″ drive compartment.
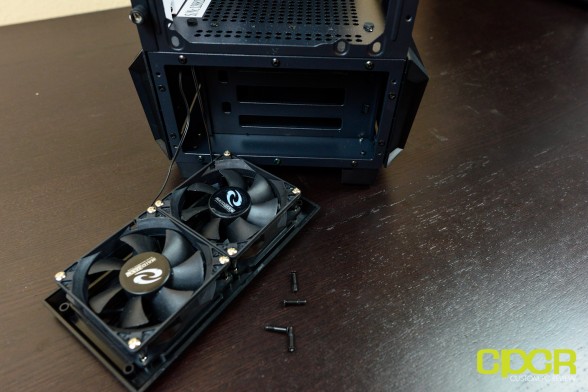
The two bottom 80mm fans may be removed by removing the entire rear grille that holds the fans together. In total, there are four screws that hold the grille in place. Here’s a look at the two rear 80mm exhaust fans. There’s also one up at the front of the drive compartment serving as an intake fan for a negative air pressure push/pull type of configuration.
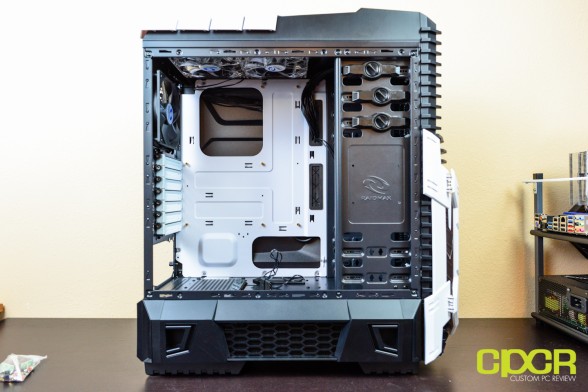
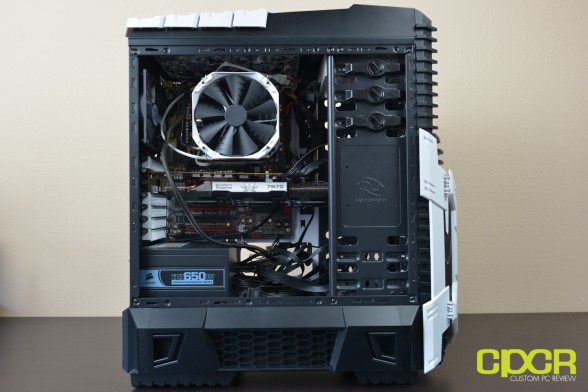
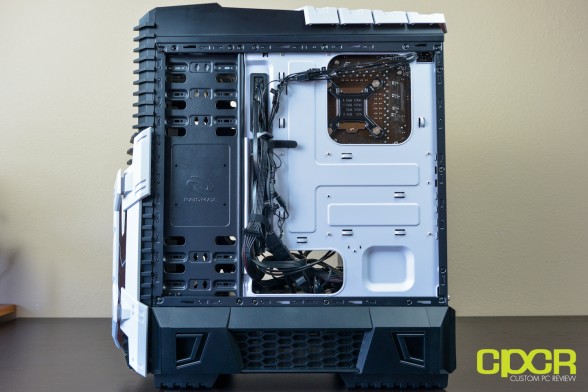
Pulling off the sidepanel, we can see that the interior of the case is painted in the same black and white theme as the exterior. One thing to note is that the materials used in the case’s construction isn’t very durable at all and the sidepanels are quite flimsy as well.
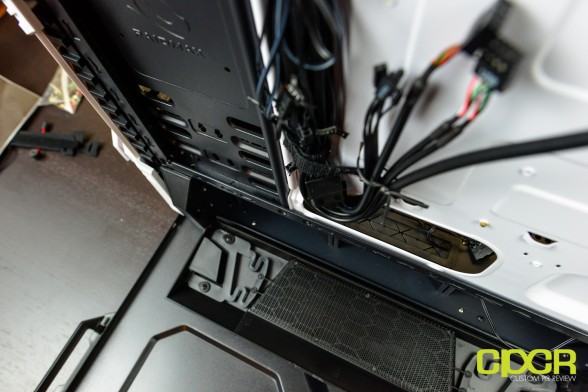
It’s also apparent that the Agusta has cable management options available; however, notice that the grommets aren’t very large, so you’ll probably have trouble getting a lot of large cables through them.
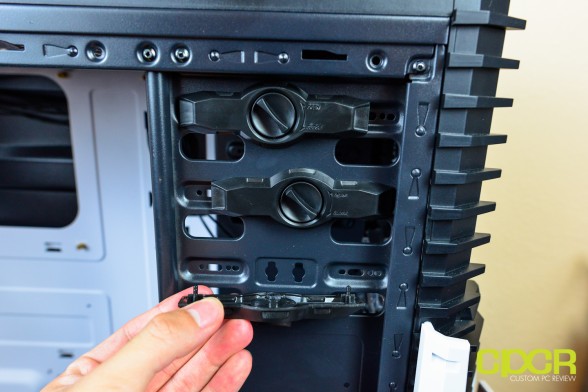
Taking a look at the top three 5.25″ bays, Raidmax has included their own tool-less mounting mechanism for easy installation of the drives. These click into place simply by mounting the piece on and turning the knob in the center. For some reason Raidmax decided to only include three of these tool-less mounting devices instead of the full five as pictured on the Agusta’s product page.
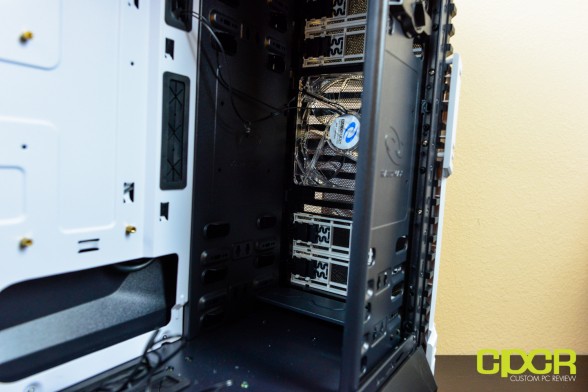
Here we can see that there’s a 120mm LED lit fan underneath the first three 5.25″ drive bays. Below that, there’s another two 5.25″ drive bays, but the extra drive bays at the bottom do not include tool-less mounting mechanisms.
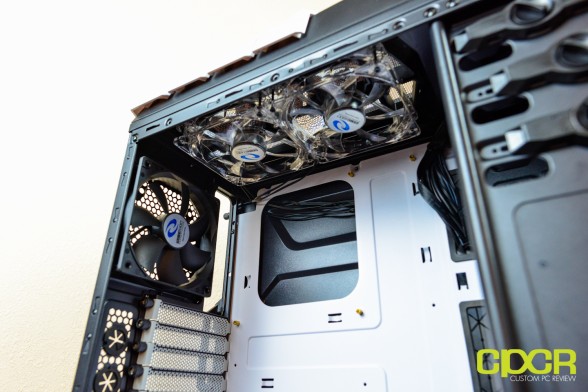
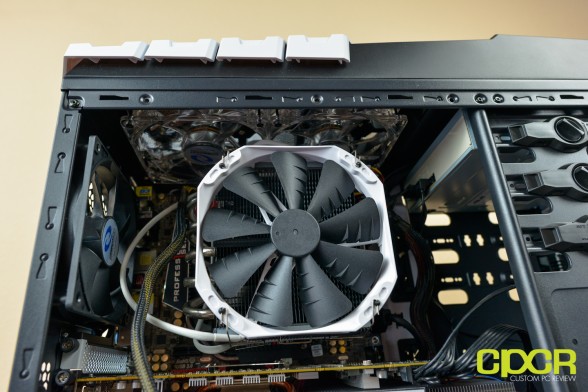
Up top, there’s also two more 120mm LED lit fans along with another non-lit 120mm fan around the back. There’s also a large cutout here for mounting CPU coolers and a number of standoffs are pre-installed for your convenience.
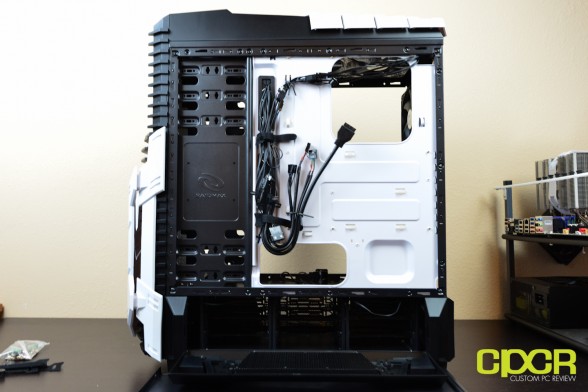
Moving over to the other side, we get all the pre-installed cabling for the front I/O along with the fans as well. Raidmax has done a good job of pre-organizing the existing wires via reusable cable ties.
Notice that there isn’t much clearance here… at all here for cable management, so thick cables along with the stock cables can’t be hidden in the back. While it may seem like even the stock cabling might not fit, it actually does because the sidepanel bulges out a bit. That said, I wouldn’t push my luck too much here.
[section label=4. Installation/Perfomrance]
Test System
CPU: Intel Core i5 2500K & Phanteks PH-TC14CS Cooler
Motherboard: Asrock Z68 Fatal1ty Professional Gen 3
Graphics: MSI Radeon HD6970 + ARCTIC Accelero Xtreme 7970
Memory: 16GB Kingston HyperX Genesis DDR3 2133MHz
Boot Drive: Kingston V+200 120GB SSD
Storage Drive: Western Digital 1TB Caviar Blue
Power Supply: Corsair HX650
DVD Drive – ASUS OEM DVD Drive
Installation & Testing of the Raidmax Agusta
Installation into the Agusta was a fairly easy process. Standoffs were already pre-installed and the tool-less optical drive installation was easy as well.
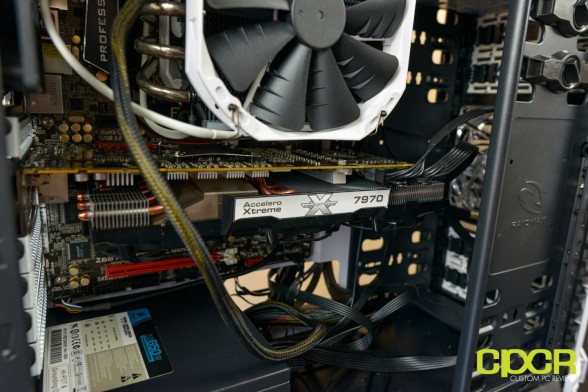
The Phanteks PH-TC14CS cooler was able to fit in the case without issue. Unfortunately, the two top 120mm fans will not be removable once the motherboard is installed. There’s also a very small cable management hole in the top left corner of the case, but it’s very small so the 4/8pin connector will need to be routed either through the cable management holes on the right or cable management will need to be left out completely. Unfortunately due to how high up the motherboard needs to be mounted, there simply isn’t much space up top at all.
Our reference HD 6970 with the ARCTIC Xtreme 7970 installed was able to fit perfectly as well with room to spare, despite the fact that it’s nearly 13″ long.
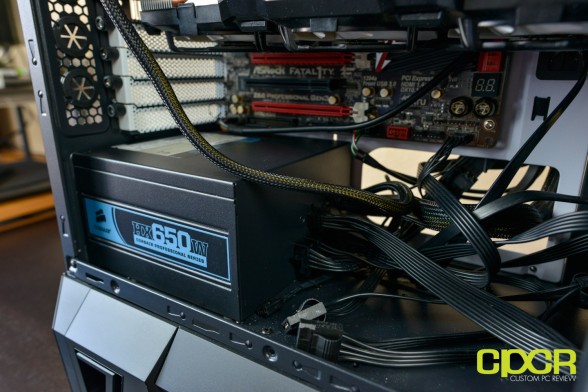
Our Corsair HX650 fit into the case without issues. Those without modular power supplies will be able to fit any extra cabling at the bottom here as there’s plenty of space. Air for the PSU is drawn through the bottom drive compartment.
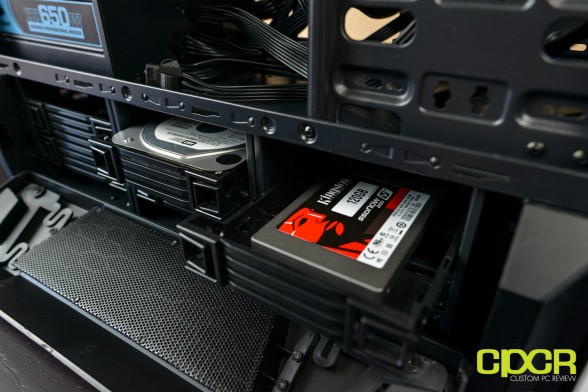
Here we’ve got both a 2.5″ SSD and a 3.5″ traditional hard drive installed. Drive trays are not tool-less and will require screws for mounting of 2.5″ or 3.5″ drives. However, the drive trays will easily click in and out of the railings on the case.
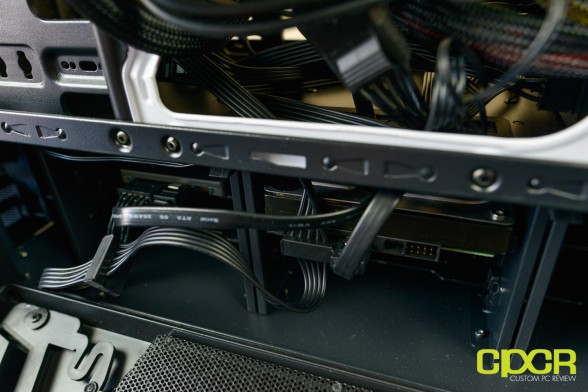
Unfortunately, there’s no pre-installed SATA connectors so SATA cables and SATA power cables will need to be routed through cable management grommets from the top compartment to the bottom.
Here’s a look at the back of the case. Cabling is pretty clean since SATA cables and SATA power cables are run through the grommets at the bottom of the top compartment. Also, it’s worth noting that there really isn’t a whole lot of space back here, so it isn’t the best idea to put all your cables back here.
Quick look at the back of the case with everything installed.
Look at the front and side of the case with everything installed. Looks surprisingly like the case stock since there aren’t any side panel windows.
Performance
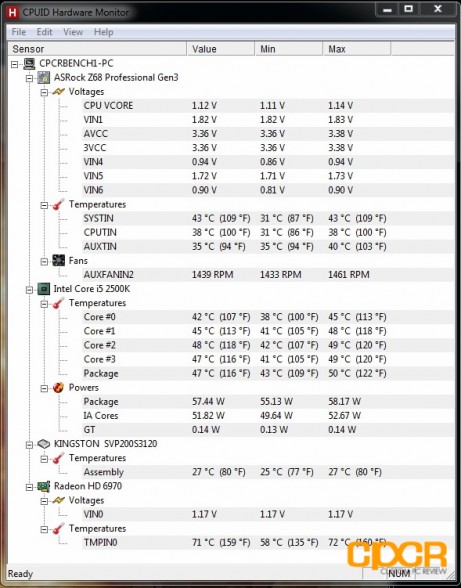
After running 30 minutes of AIDA64 and Furmark simultaneously with our system at stock settings (Ambient 24ºC), we were able to get some pretty good temperatures with CPU core temperatures maxing out at around 50ºC and GPU temperatures maxing out at around 72ºC. These temperatures are perfectly acceptable and there’s also headroom for further CPU overclocking.
Noise levels from the Agusta were acceptable as well especially with Raidmax including a fan controller to allow the fans to be turned down when extra airflow isn’t needed. The case with its 4x 120mm fans and 3x 80mm fans definitely does make itself known (acoustically), but I was definitely expecting the small 80mm fans in the hard drive compartment to make a lot more noise than it did.
[section label=5. Conclusion]
Conclusion
 Overall, styling on the Raidmax Agusta is very attractive. While I can’t say it looks exactly like what I expected when I read the subject line on the press release a couple months back (thought it’d look more like a Gundam Wing), Raidmax has done a fine job of giving the Agusta a very mech-like feel. Accompanying its great looks is an excellent set of features. It has USB 3.0, a fan controller and a LED controller, LED fans, support for six 2.5″/3.5″ drives, and more. Although this isn’t something I typically mention in my reviews, the packaging on the Agusta is absolutely stellar. Rarely do you see companies offer closed cell foam on their cases and even rarer do you see companies wrap their case in a reusable cloth cover. Might I also add that the velcro cable ties are a nice touch too?
Installation wasn’t too bad with this case either since the optical drive bays are tool-less and the drive trays are removable so screwing them in isn’t too bad. It could definitely be worse. In terms of performance, I didn’t see anything wrong with the Agusta either. It was able to keep the CPU under 50ºC and the GPU under 72ºC while fully loaded by both AIDA64 stress test and Furmark. This definitely leaves room for overclocking and normal gaming/typical usage scenarios would typically never drive the CPU or GPU as hard as these stress testers.
All that aside, the Agusta was definitely a mixed bag for me. The first thing I noticed when taking the case out of its box is how ridiculously flimsy the materials used on the case is. As you’d expect, a large portion of the case is constructed of plastic, which some might not like too much. Personally, I think it’s fine especially with some of the fine offerings from NZXT being constructed with tons of plastic, but with the metal sidepanels being as thin as they are, I can’t imagine the Agusta being able to take a lot of abuse.
The issues doesn’t just end with the construction quality though. The small amount of space at the back of the case for cable management (then again, at least there is space), the lack of a large enough cable management hole on the top left corner for the 4/8 pin connector, the absence of fan filters, only semi-tooless 2.5″/3.5″ drive trays, removal of the two top 120mm fans require removal of the motherboard, and the tiny cable management grommets round out the list of small issues that bothered me. Would I say any of these issues are deal breakers on their own? Not really, but it’s definitely difficult looking past all of them when they are brought together on a single case.
Pricing on the Agusta is around $120 and should’ve been available since May (at least according to the press release). But as of this moment I can’t find any stock at the usual retailers. (Amazon, Newegg, etc.) While it’s not the most expensive case out there, $120 is still a lot to spend for a case especially with others such as the Antec Eleven Hundred, Cooler Master HAF XM, and NZXT Phantom 410 being better options at this price range.
Bottom Line
Overall, the Raidmax Agusta is an OK case. It performed well, it was relatively easy to build into and it looks stunning. However, its flimsy build quality, many small issues, relatively high price tag, and most importantly the lack of availability makes it a case worth recommending only to the select few hardcore Gundam fans out there who simply can’t get enough of the stylish design.
Special thanks to Raidmax for making this review possible!
**Update 7/19/12**
The Raidmax Agusta is currently available for $109.99 at Newegg. Additionally, they’ve also informed me that the MSRP is being adjusted to ~$99 in the coming days.




Awesome review. My friend just got this case and he’s ecstatic. At first I didn’t really like the design (I have a 690II, so I’m more of a “less is more” person) but after reading that it’s for Gundam style (:P) I’ve warmed up to it a bit.
HDDs at the bottom looks cool.